PowerShell 6.0 has now become generally available and with it the ability to use PowerShell cross platform. With all of its goodness, I was most excited about Azure powershell cross platform capabilities that this brings about. Firstly, the azure-cli is also a great cross platform tool, but sometimes the powershell capabilities seem to outshine this CLI.
Installing PowerShell on macOS
The installation instructions on the repo are pretty straight forward, but for summary:
- Ensure you have
homebrew. This can be installed by running/usr/bin/ruby -e "$(curl -fsSL https://raw.githubusercontent.com/Homebrew/install/master/install)" - Install Homebrew-Cask
brew tap caskroom/cask - Install PowerShell
brew cask install powershell
Installing Azure PowerShell
Azure Powershell is available from the PowerShell Gallery and can first entering powershell by running pwsh from your bash prompt and then:
Install-Module -Name AzureRM.Netcore

Login-AzureRmAccount
# Login via browser devicelogin

# Ensure it's working by grabbing your resource groups
Get-AzureRmResourceGroup
PowerShell bash alias
When launching powershell from bash, I’d prefer to use the full name rather than pwsh. As such in my bash_profile I have the following:
if [ -x $(command -v pwsh) ]; then
    alias powershell=pwsh
fi
Now you can enter powershell any time by running powershell
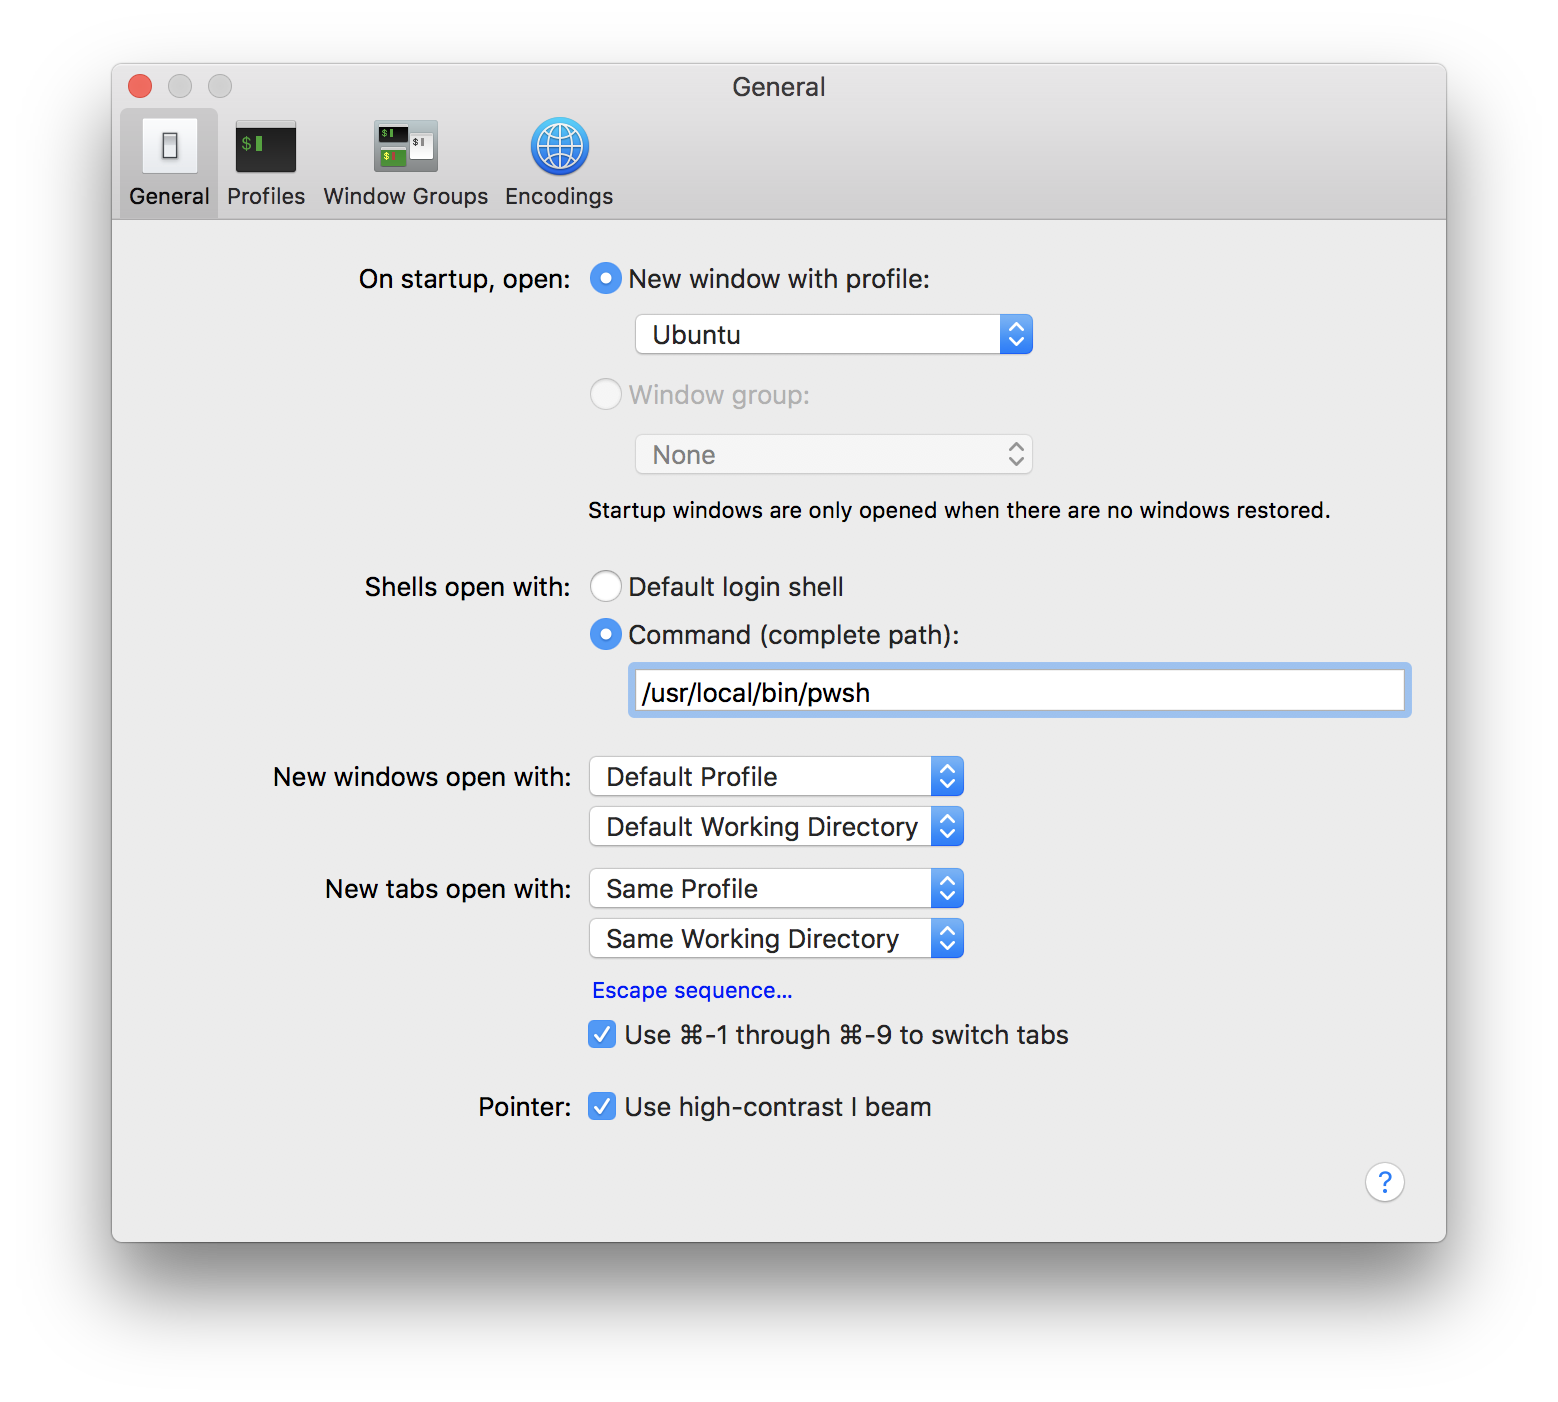
PowerShell as your default shell
You can make PowerShell your default shell instead of bash in terminal. To do this, open Terminal preferences (cmd + ,) and under the ‘General’ tab change ‘Shells open with:’ to Command and use ‘/usr/local/bin/pwsh’